How to install Windows 11 on unsupported devices
Microsoft has already started to push the new generation of the Windows 11 operating system on October 5, 2021. All eligible Windows 10 PCs can be upgraded to Windows 11 for free. According to the requirements of TPM 2.0 in the Microsoft document, users need to use Intel Core 8th or above, AMD Ryzen 2000 series or above, Qualcomm 7 and 8 series platforms, and some Skylake-X and 7th generation core mobile processors. In addition, Windows 11 also puts forward new requirements for UEFI booting, which needs to be installed in the GPT partition format and no longer supports MBR booting.
Individual users may feel depressed. For example, a platform built with a Core i7-6950X processor, its performance is quite good, but it does not meet the conditions. Recently TechPowerup shared a method that can bypass TPM-related restrictions. The steps are as follows:
Step 1: Create the Registry Modification
After preparing your installation media (on another PC), open Notepad, paste the text below, save this file as “bypass.reg” on the bootable USB flash drive that’s serving as installation media for Windows 11. You can also put just this file alone on a separate USB stick, the Windows installation environment will show it as additional drive.Windows Registry Editor Version 5.00
[HKEY_LOCAL_MACHINE\SYSTEM\Setup\LabConfig]
“BypassTPMCheck”=dword:00000001
“BypassSecureBootCheck”=dword:00000001
“BypassRAMCheck”=dword:00000001
“BypassStorageCheck”=dword:00000001
“BypassCPUCheck”=dword:00000001Copy and paste the text, including the “Window Registry Editor Version 5.00” part, it should look like in the screenshot below. Also, make sure to save as “bypass.reg” and not “bypass.reg.txt”, which can happen if you use notepad and have “Show file extensions” turned off in Explorer (the default).
Step 2 Boot from that Installation Media USB Flash Drive
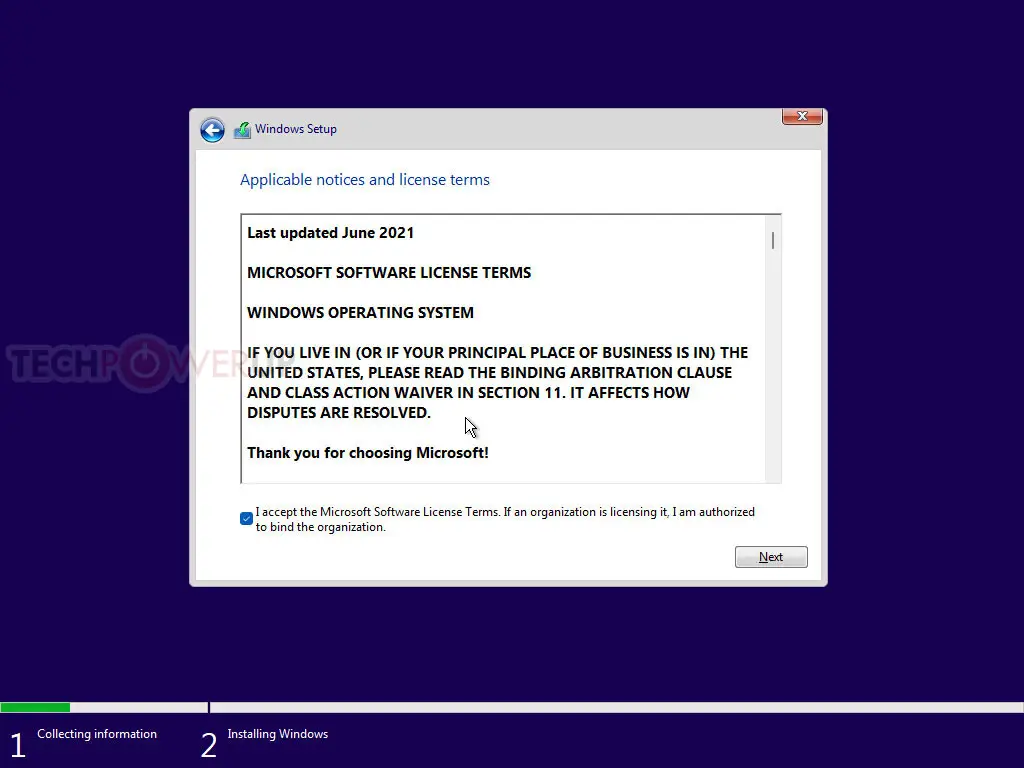
Now, simply boot from that USB flash drive, run Windows 11 Setup, and proceed until you hit the screen that says “This PC can’t Run Windows 11.”Here, click on the “back” button of the wizard (top left of the window), which takes you back to the previous screen.
Step 3: Invoke a Command Prompt
Press “Shift+F10” on your keyboard. This opens a Command Prompt window. Type “regedit” and hit Enter.Step 4: Get Registry Editor to Pick Up that Registry File You Made
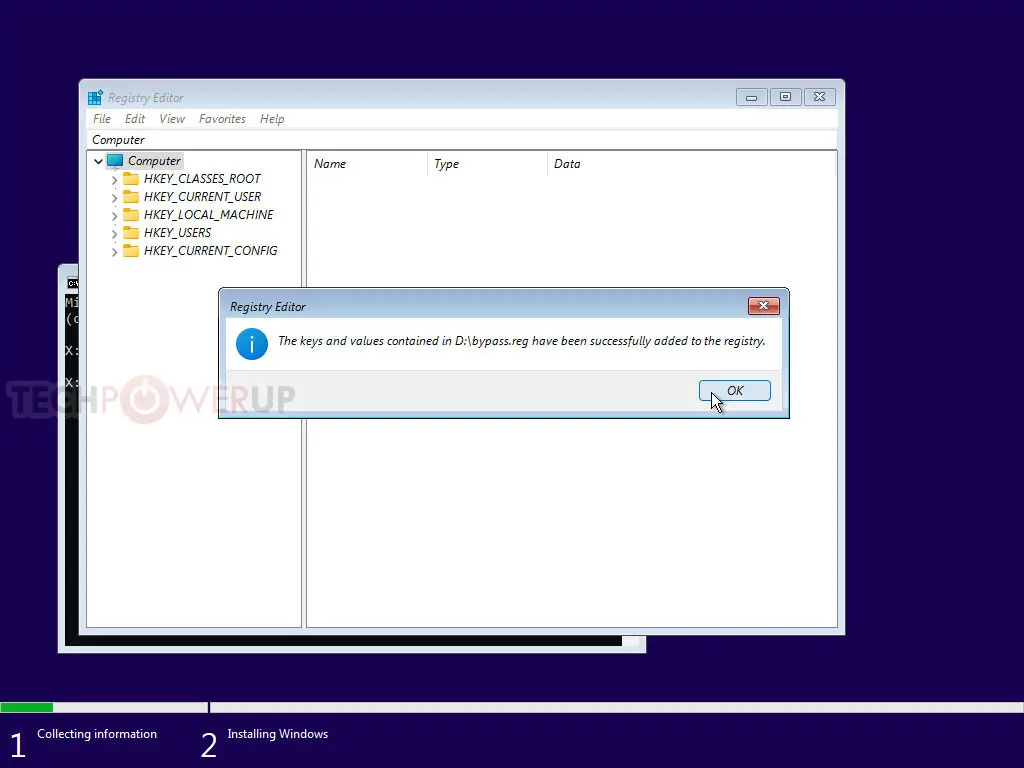
With Registry Editor open, get it to import the “bypass.reg” file that’s been sitting on your USB flash drive.

Step 5: Proceed with the Installation
That’s it! Close all windows, and proceed with the installation.


