How to install LAMP (Linux, Apache, MySQL, PHP) on Ubuntu Server
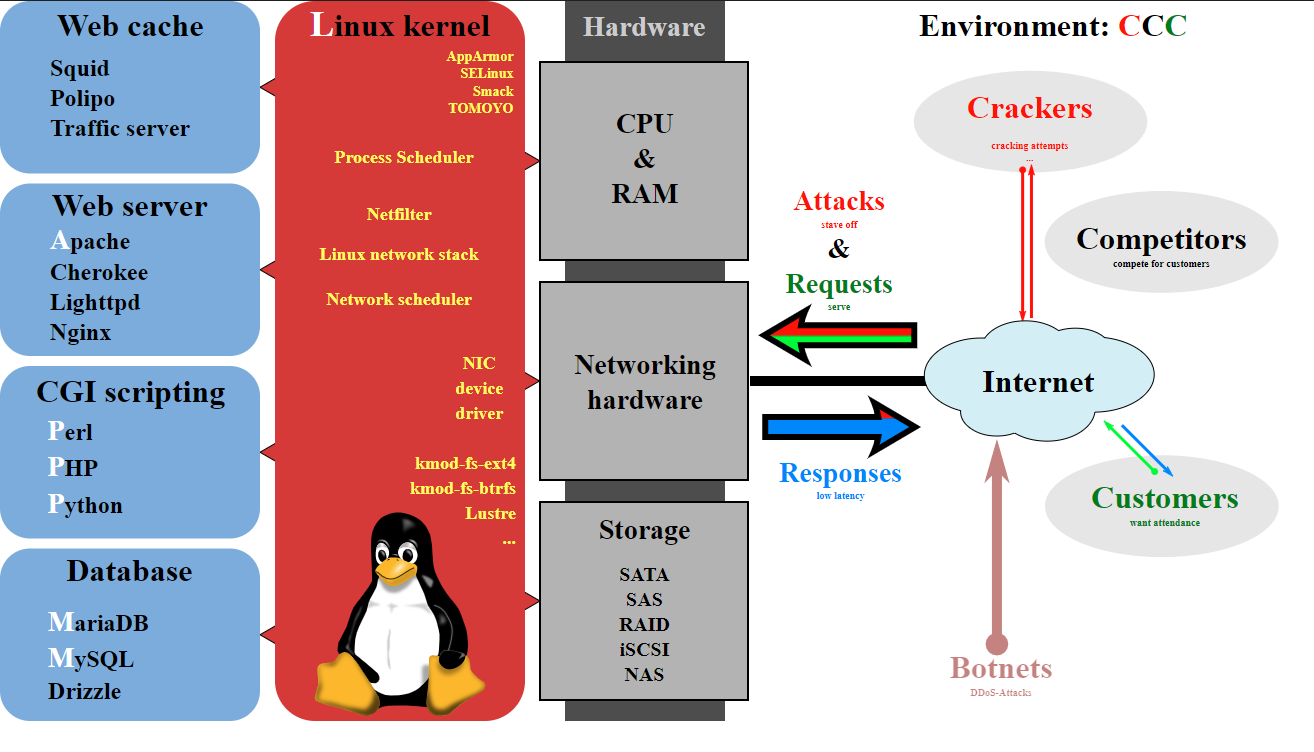
LAMP (Linux, Apache, MySQL, PHP/Perl/Python) is an archetypal model of web service stacks, named as an acronym of the names of its original four open-source components: the Linux operating system, the Apache HTTP Server, the MySQL relational database management system (RDBMS), and the PHP programming language. The LAMP components are largely interchangeable and not limited to the original selection. As a solution stack, LAMP is suitable for building dynamic web sites and web applications.

LAMP is quite widely used today. This article will guide you step by step to install LAMP on the Ubuntu server.
- Install apache
sudo apt-get update
sudo apt-get install apache2 - Install mysql
sudo apt-get install mysql-server libapache2-mod-auth-mysql php-mysql - Set up MySQL
sudo /usr/bin/mysql_secure_installationBy default, a MySQL installation has an anonymous user, allowing anyone to log into MySQL without having to have a user account created for them. This is intended only for testing, and to make the installation go a bit smoother. You should remove them before moving into a production environment. Remove anonymous users? [Y/n] y ... Success! Normally, root should only be allowed to connect from 'localhost'. This ensures that someone cannot guess at the root password from the network. Disallow root login remotely? [Y/n] y ... Success! By default, MySQL comes with a database named 'test' that anyone can access. This is also intended only for testing, and should be removed before moving into a production environment. Remove test database and access to it? [Y/n] y - Dropping test database... ... Success! - Removing privileges on test database... ... Success! Reloading the privilege tables will ensure that all changes made so far will take effect immediately. Reload privilege tables now? [Y/n] y ... Success! Cleaning up...
- Install PHP
sudo apt-get install php libapache2-mod-php mcrypt - Add php to the index file list
sudo nano /etc/apache2/mods-enabled/dir.conf<IfModule mod_dir.c> DirectoryIndex index.php index.html index.cgi index.pl index.php index.xhtml index.htm </IfModule> - [Option] Install PHP modules
PHP has many modules, to search all PHP modules, you can use the below command:
php-cgi – server-side, HTML-embedded scripting language (CGI binary)
php-cli – command-line interpreter for the php scripting language
php-common – Common files for packages built from the php source
php-curl – CURL module for php
php-dbg – Debug symbols for php
php-dev – Files for php module development
php-gd – GD module for php
php-gmp – GMP module for php
php-ldap – LDAP module for php
php-mysql – MySQL module for php
php-odbc – ODBC module for php
php-pgsql – PostgreSQL module for php
php-pspell – pspell module for php
php-recode – recode module for php
php-snmp – SNMP module for php
php-sqlite – SQLite module for php
php-tidy – tidy module for php
php-xmlrpc – XML-RPC module for php
[…]
To install modules, simple type command:
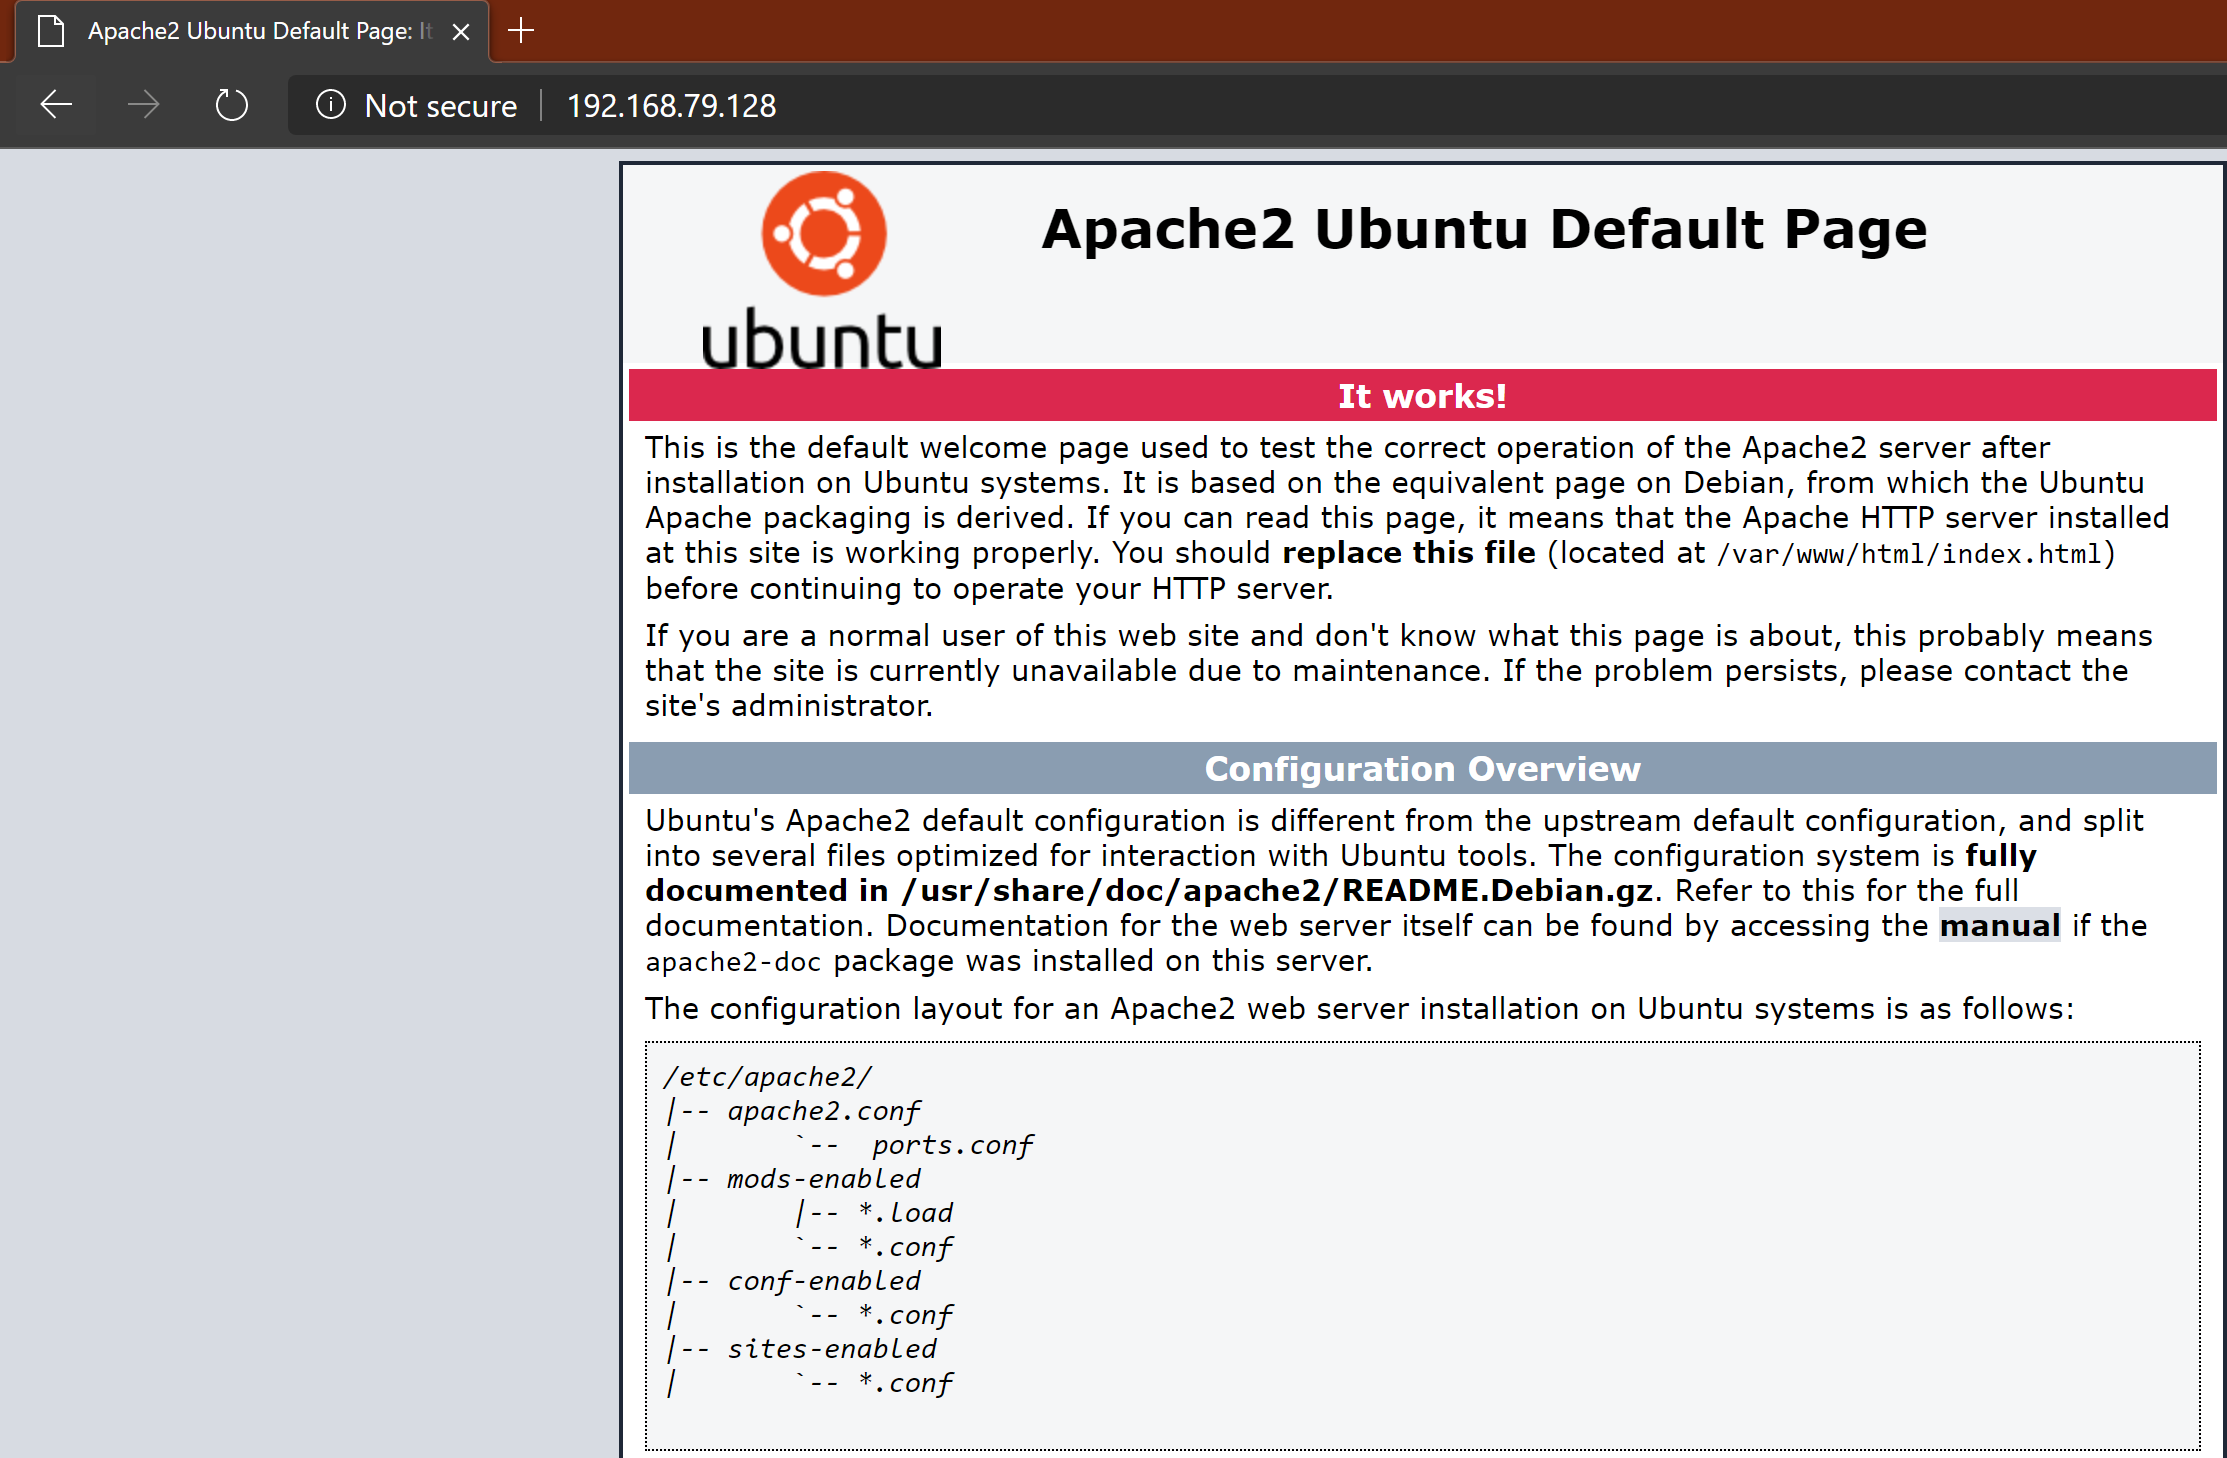
sudo apt-get install php_module_name - Now, Apache service is working


