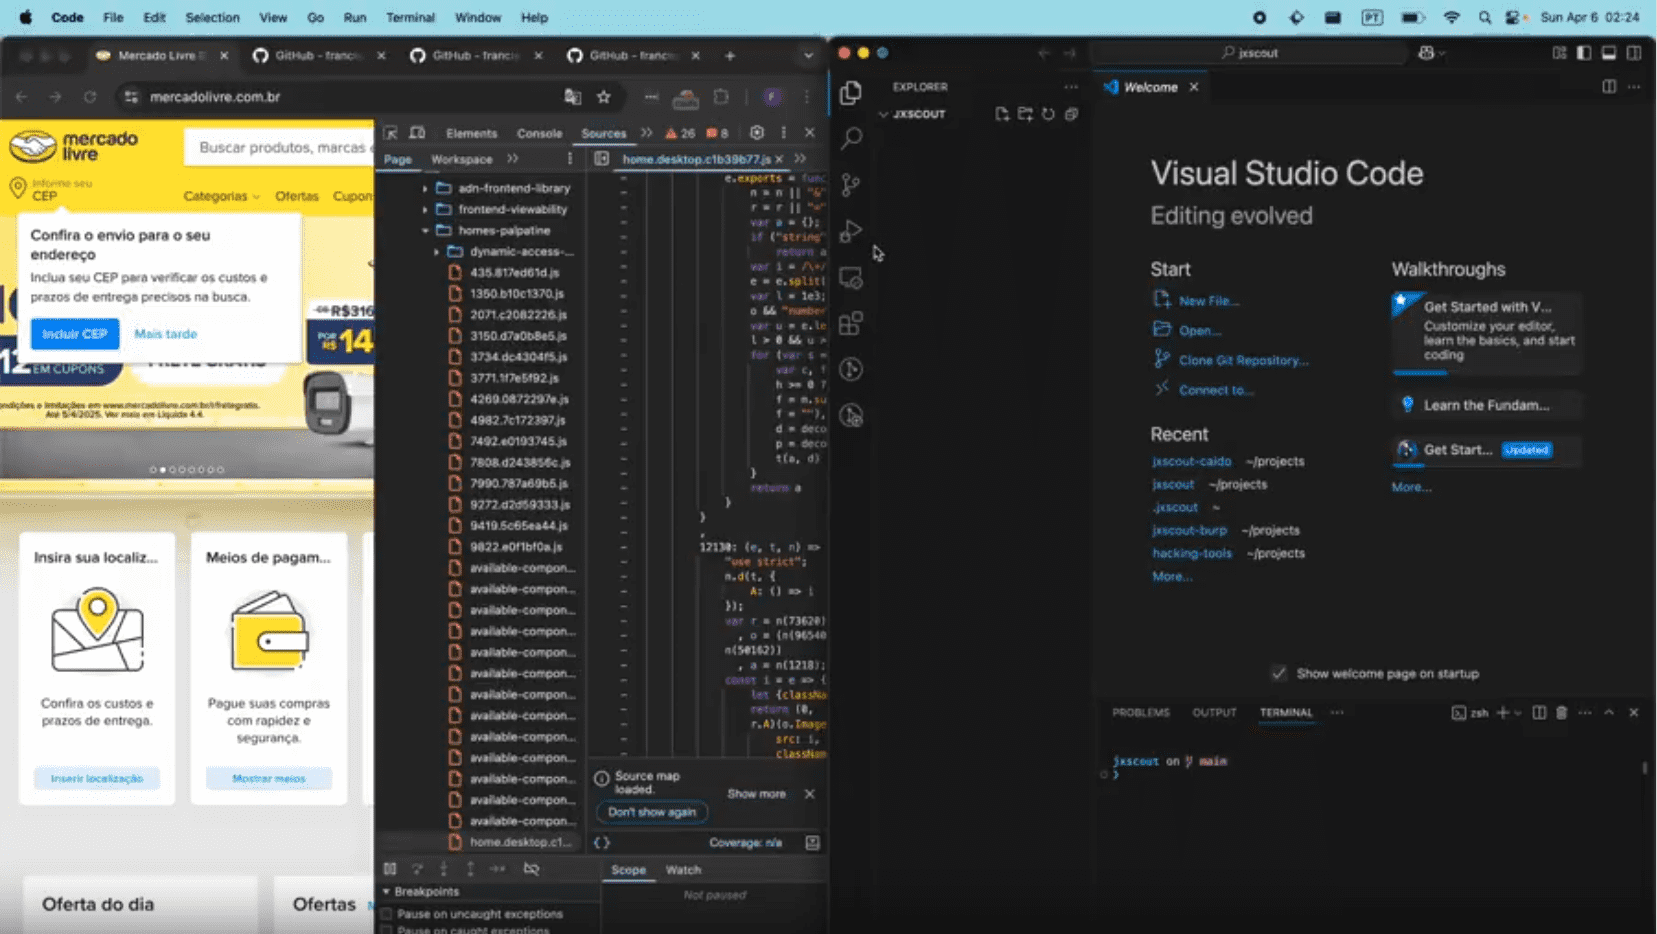
jxscout is a tool designed to help security researchers analyze and find vulnerabilities in JavaScript code. It works with your favorite proxy (Burp or Caido), capturing requests and saving optimized versions locally for easy analysis in your preferred code editor.
Key Features
- Asset Organization: Automatically saves and organizes relevant static assets (HTML, JavaScript) into an intuitive folder structure.
- Chunks Pre-Fetching: Detects and pre-fetches Webpack and Vite chunks for comprehensive analysis.
- Code Beautification: Automatically beautifies JavaScript files, making them easier to read and analyze.
- Source Map Discovery: Automatically reverses application source code if .map files are available.
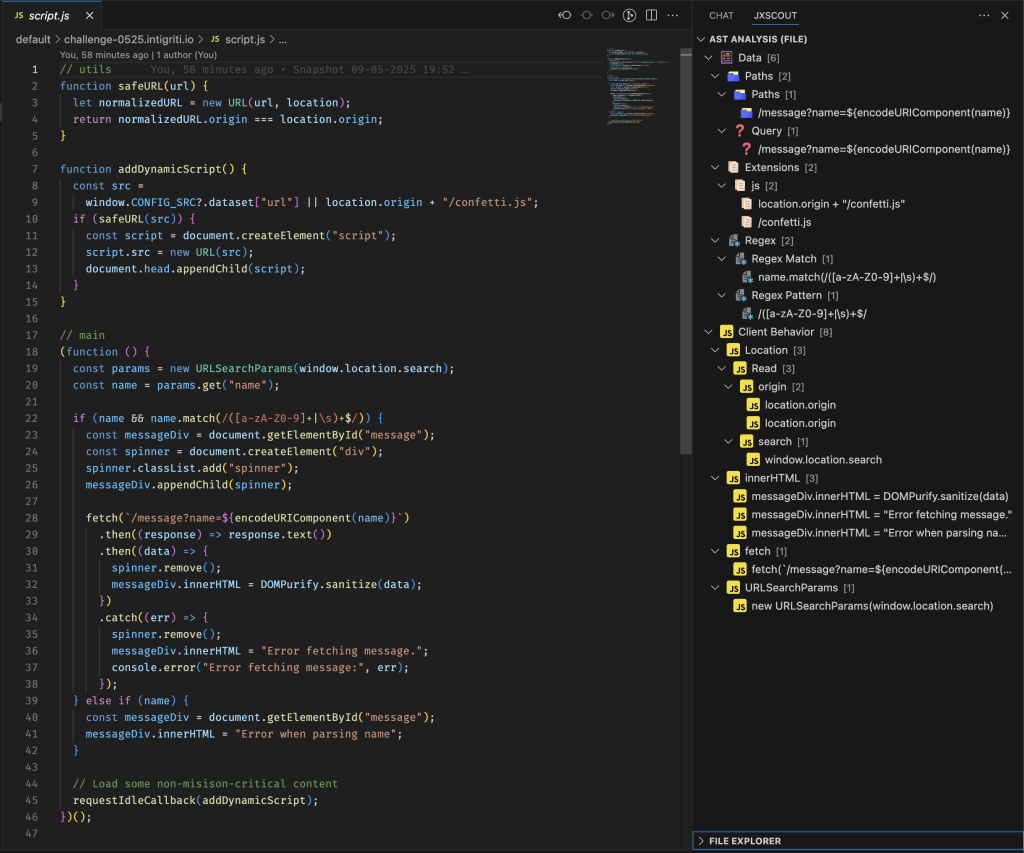
- AST Analysis: Automatically analyzes JavaScript files finding interesting functionality for vulnerability researchers. See VSCode Extension to learn how to install the extension.
Installation
Requirements
- golang: https://go.dev/doc/install – jxscout is written in golang
- bun (>=1.2.12 recommended): https://bun.sh/docs/installation – used for the chunk discovery script
Part 1. Installing the CLI
The first step to get up and running with jxscout is to install the CLI. To do that, just run the command below or download a pre-compiled binary from the release page.
go install github.com/francisconeves97/jxscout/cmd/jxscout@latest
The jxscout CLI has a prompt with many commands, one of them is install which installs bun and prettier, which are needed dependencies of jxscout. If you don’t have those tools installed, feel free to install them manually or by running the install command.
Part 2. Proxy Setup
jxscout will only start capturing assets after you setup your proxy to forward requests to it. To do that, you should install the right plugin for your proxy:
- For Caido users: Check out https://github.com/francisconeves97/jxscout-caido
- For Burp users: Check out https://github.com/francisconeves97/jxscout-burp
After you install the proxy plugin, every asset that flows through your proxy should be automatically saved to your ~/jxscout folder.
One useful feature is the ability to organize your assets in projects (similar to how you would do in your proxy). To do this, you can run config project-name=my_project in the jxscout CLI, and from that moment on, assets will be saved in ~/jxscout/my_project.
If you don’t see assets being saved at this point, you should check the Troubleshooting section.
Part 3. VSCode Extension
The VSCode extension is a frontend for jxscout. It allows you to visualize the AST Analysis results of jxscout in a useful tree. It also allows you to copy values from there, including paths and query params for bruteforcing.
To get started with the VSCode Extension head over to https://github.com/francisconeves97/jxscout-vscode for more instructions.
You can check the structure of the analysis tree on docs/tree.md to get a picture of what descriptors you will get.